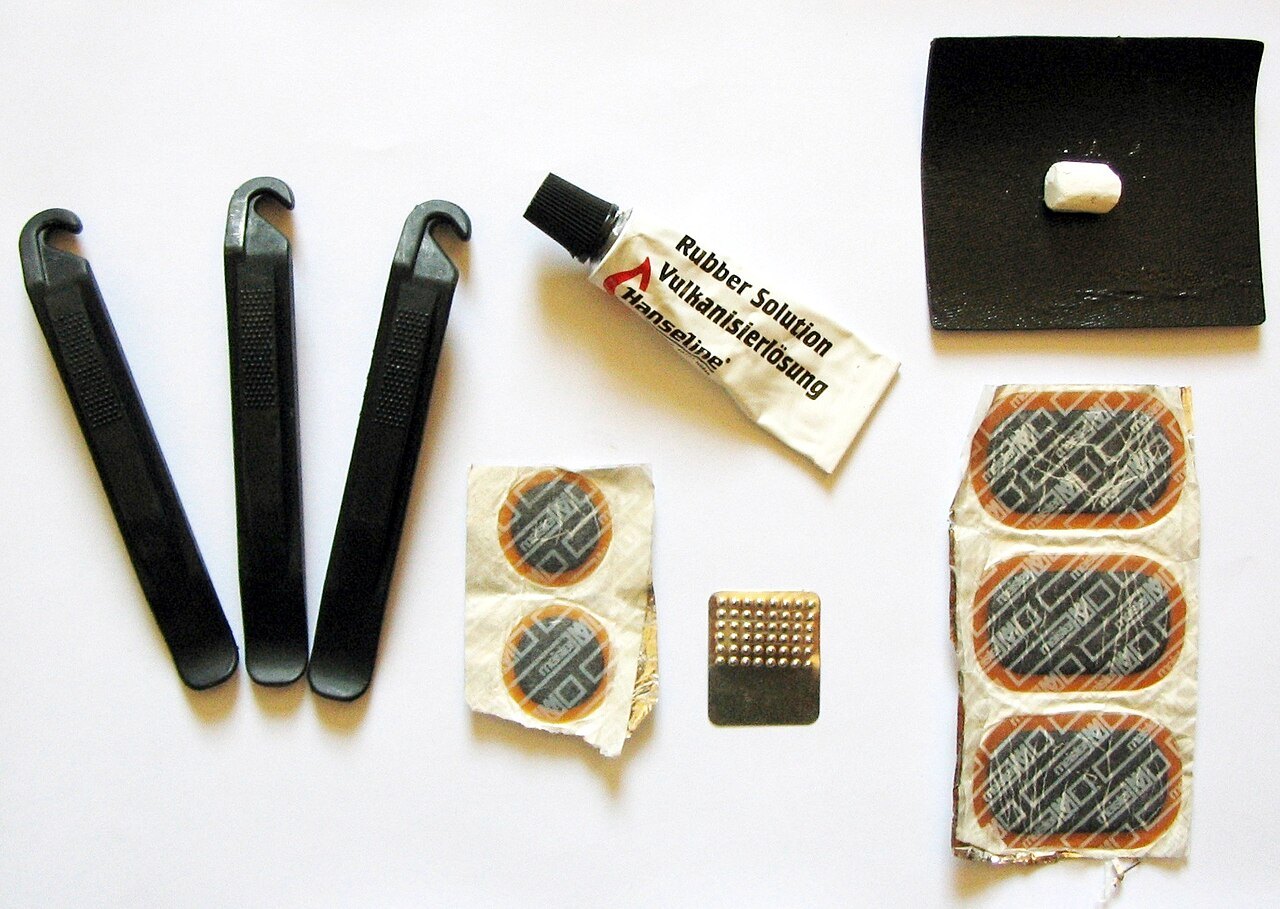

A puncture is easier to manage on a ride when two questions have been answered beforehand: what tyre system does the bicycle use, and which repair can you actually perform? An arbitrary kit in a saddle bag answers neither. Inner tubes, tubeless systems and special tube materials need compatible methods. The relevant manufacturer's instructions therefore remain the basis, while the outing also needs a plan for a puncture that cannot be repaired locally.
Check compatibility at home
Read the tyre size from its sidewall and confirm that a spare tube covers the required range. Valve type and length must suit both rim and pump. Test the pump head before travelling. A suitable tube is of little use if its valve cannot be inflated on the road.
Patch compatibility depends on material. A method intended for conventional butyl tubes does not automatically suit every other tube. Check adhesive condition, shelf life and kit completeness. Tubeless tyres require their specific instructions concerning sealant and repair; improvised mixtures or an unfamiliar plug are not reliable preparation.
Find a suitable working position
When a tyre loses air, brake controllably and leave the riding line at a safe place. Do not simply continue on the flat tyre. Choose firm ground with enough space and place small parts where they cannot disappear into grass or gravel. Keep the group outside the traffic area.
Before removing a wheel, understand the axle, brake and any electrical connections. An e-bike or hub gear can involve a more complex procedure than a simple front wheel. If you do not know it, arranged assistance may be preferable to a partly dismantled bicycle that cannot be safely reassembled.
Replace the cause, not only the tube
With a tube system, identify the cause or the replacement may be damaged immediately. Examine the tyre and rim area carefully for foreign objects or visible damage. Do not run fingers blindly over possible glass. Damaged rim tape, a torn tyre or a defective valve requires a different response from a small hole in a tube.
If patching is permitted by the manufacturer's instructions, prepare the area accordingly and observe required waiting times. With a replacement tube, avoid twisting it or trapping it between tyre and rim. Do not use sharp-edged improvised tools that damage the tube during installation. These procedures are worth practising at home where time and light are available.
Check before continuing
Inflate according to tyre and rim requirements and examine even seating. Keep pressure within the range permitted for both tyre and rim; never exceed the lower of their two maximum permitted pressures. The wheel must be correctly secured and the brake functioning again. Turn the wheel carefully to check for rubbing or visibly uneven rotation.
A short, slow test in a safe place establishes whether the bicycle feels normal. If air escapes again, the sidewall looks abnormal or fastening remains uncertain, stop the repair attempt. Riding under time pressure is not a test. Even after a successful temporary repair, it may make sense to replace the long planned circuit with a direct return.
Make assistance reachable
Save the terms and contact details of an actually available recovery service or suitable workshop beforehand. ADFC roadside assistance, for example, depends on its particular service conditions; possessing a link does not establish entitlement. Anyone collecting you needs a precise position, such as a public road or clearly named access point.
A photograph of the location and an offline map help when local names are unfamiliar. Consider how a damaged bicycle could be transported too. Useful compact equipment combines compatible material, practised actions and a realistic limit on what can be repaired beside the path. That boundary should be decided before fading daylight or an approaching train departure begins to influence technical decisions.